The tarp is too flat
A broad horizontal sheet has no preferred runoff direction. Even a shallow dip can become the collection point once rain begins.
 News
News

Prevent tarp ponding by creating positive drainage, reducing unsupported spans, balancing tension and sizing the cover around the real support and tie-down geometry. This guide explains what causes rainwater pockets, how to correct them, and how to build drainage into custom industrial tarps before production.
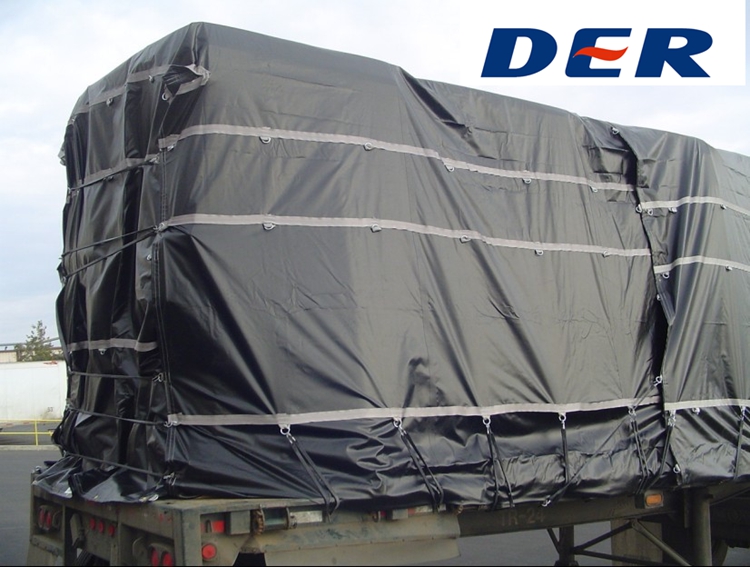
Give the tarp a continuous downhill drainage path. Raise a ridge, center crown or high side—or deliberately lower a runoff edge—so rain cannot settle in a closed depression. Then reduce wide unsupported spans, tension opposite attachment points gradually, remove excess loose fabric, and inspect the shape after the first rain. A heavier tarp alone will not prevent water pooling if the surface is still flat or sagging.
Ponding usually starts with geometry, fit or support—not with whether the tarp fabric is waterproof. Rain adds weight to the first low point, that low point drops farther, and the new load is transferred into seams, hems, grommets, D-rings, ropes, supports and anchors.
A broad horizontal sheet has no preferred runoff direction. Even a shallow dip can become the collection point once rain begins.
Long distances between ridges, bows, poles or frame members allow the cover to sag under its own weight and rainfall.
One tight corner and one loose edge can twist the fabric into a diagonal pocket instead of a clean drainage plane.
Excess material creates uncontrolled folds and valleys. Use enough drop and overlap for fastening without leaving large loose bays.
Stakes, ropes, elastic ties, hooks or trailer fixing points can shift, allowing a previously taut surface to form a low spot.
A badly positioned crossbar or single sharp pole can create a new pocket. Supports should form a stable ridge, crown or smooth fall.
Oversizing is a common hidden cause. DERFLEX's tarp size and measurement guide explains how to measure the actual coverage path rather than only the footprint.
Pooling is more than a leak issue. Standing water changes the structural load on the cover and can deepen sagging, deform attachment points or overload a temporary support system.
Approximate weight of 1 inch of water spread over a 10 × 10 ft area.
These are planning estimates only. Real tarp pockets are curved and load distribution is uneven. Do not use these figures to rate a frame, roof, anchor or tarp for structural capacity.
Enter the approximate pooled area and average water depth in metric units.
Formula: area (m²) × average depth (mm) ≈ water mass (kg).
Make adjustments before severe weather arrives and only while access is safe. The target is a stable cover with no closed depression where rain can remain.
Look across the tarp from the side. Determine whether the pocket is in the center, near one edge, between anchors, or around an object underneath. Correcting the wrong area can simply move the puddle.
Raise a ridge, center support or high side, or lower a discharge edge so water has a continuous downhill path. Avoid creating opposing slopes that meet in a closed valley with nowhere to drain.
If the center still sags, add a compatible ridgeline, bow, padded support or frame member. A wide flexible panel can pond even when the perimeter feels tight.
Keep side drops and overhang reasonably balanced. Too much fabric on one side creates folds and loose valleys. For repeat installations, measure the actual sloped coverage path.
Work in diagonal or opposite pairs and make several passes. The goal is controlled shape—not maximum pull. Stop if grommets, D-rings, hems, seams or corners begin to distort.
Large edges often need more than four corner connections. Use reinforced attachment points aligned with stable anchors so surface shape is controlled without concentrating force into one eyelet.
Use a controlled hose test or inspect after light rain. Watch where water slows, reverses direction or begins to settle. If a pocket returns, change support geometry instead of repeatedly tightening the same corner.
There is no single universal pitch angle for every flexible tarp, span and support system. What matters is continuous positive drainage without a stationary low pocket.
Useful for temporary shelters and equipment covers when one edge can be kept clearly lower for runoff.
A center ridge splits rain to two sides and is practical when both discharge edges can remain clear.
Useful over equipment, pallets or rectangular frames. Use a broad padded contact surface rather than a sharp pole tip.
Useful on longer covers and trailers where several supports reduce sag between distant end points.
For windy installations, drainage and securement should be designed together. See DERFLEX's high-wind tarp securement guide.
Retightening the same rope is not always the answer. Use the symptom to decide whether the root cause is support, fit, slope, anchor movement, reinforcement or an unrelated leak path.
| What You See | Likely Cause | Best Correction | Check Next |
|---|---|---|---|
| Deep bowl in the center | Wide unsupported flat span | Add a ridge, crown, bow or compatible support to reduce the unsupported bay. | Support spacing, tarp size, safe runoff edge |
| Small pocket near one corner | Uneven tension or misaligned anchor | Loosen and re-tension opposite points in stages. | Grommet distortion, pull angle, anchor stability |
| Long valley along one side | Edge too high, too loose or lacking an outlet | Lower a runoff point or add an intermediate reinforced tie. | Hem reinforcement and side drop |
| Ponding returns after every storm | Support/anchor movement, relaxation or poor geometry | Redesign the support shape rather than increasing local tension again. | Frame stiffness, anchor movement, repeat fit |
| Grommet stretches while fixing the puddle | Too much load concentrated at one point | Spread the load through reinforced hems, webbing, D-rings or additional designed points. | Hardware map and pull direction |
| Water appears underneath although the top drains | Seam leak, grommet entry, abrasion or condensation | Diagnose the moisture source instead of treating pooling as the only cause. | Seams, coating wear, ventilation, edge exposure |
If the tarp is already damaged around seams, edges or eyelets, review the DERFLEX tarp repair guide before applying more tension.
The same principle—positive drainage—applies across many uses, but the support and fastening method changes with the object being covered.
| Application | Preferred Drainage Geometry | Support / Tie-Down Direction | Important Caution |
|---|---|---|---|
| Camping / temporary shelter | Ridgeline, A-frame or one-way slope | Adjustable guy lines, suitable stakes and a visible runoff edge | Keep lines out of walk paths and adjust only in safe weather. |
| Outdoor equipment cover | Crown or sloped top using the equipment profile | Pad hard corners and use multiple reinforced perimeter points | Do not push a sharp support into the tarp. |
| Utility / landscape trailer | Center crown, longitudinal ridge or support bows | Size the finished tarp around the raised profile and real anchors | Cargo securement is separate from the tarp cover. |
| Outdoor storage / pallet stack | Raised center or sloped stack top | Stable support, adequate side drop and balanced perimeter ties | Manage condensation and direct runoff away from stored goods. |
| Construction weather cover | Defined slope with limited unsupported bays | Frame-based fixing points and reinforced perimeter zones | Large exposed sheets can require site-specific engineering. |
| Custom industrial cover | Drainage geometry built into the finished cover | Specify support map, hardware map, seam layout and reinforcement together | Do not use heavier fabric as a substitute for poor geometry. |
For machinery, pallets and industrial inventory, DERFLEX's outdoor storage tarp guide covers drainage, wind, abrasion and condensation as one cover system.
PVC/vinyl and PE tarp constructions can block rain, but standing water still increases stress at seams, folds and fixing points. The finished cover must be designed to shed water.
A waterproof coating prevents normal rain penetration through the sheet, but it does not make a flat suspended tarp suitable for carrying accumulated water.
For compatible PVC coated material, welded seams can improve rain sealing. Seam routes should avoid chronic ponding zones where practical.
Hems, webbing, corner patches and correctly oriented hardware help hold the intended drainage shape while spreading tie-down loads.
A waterproof sheet can still leak at seams, hardware or worn areas. See Are Tarps Really Waterproof? for the material-versus-finished-cover distinction, and reinforced-edge tarp construction for load-transfer details.
Repeat pooling problems usually come from treating the symptom with more tension instead of correcting the shape, support or load path.
These verified DERFLEX website images support the drainage topic with actual finished-cover and manufacturing details. The captions and alt text are written for useful image-search context rather than keyword repetition.
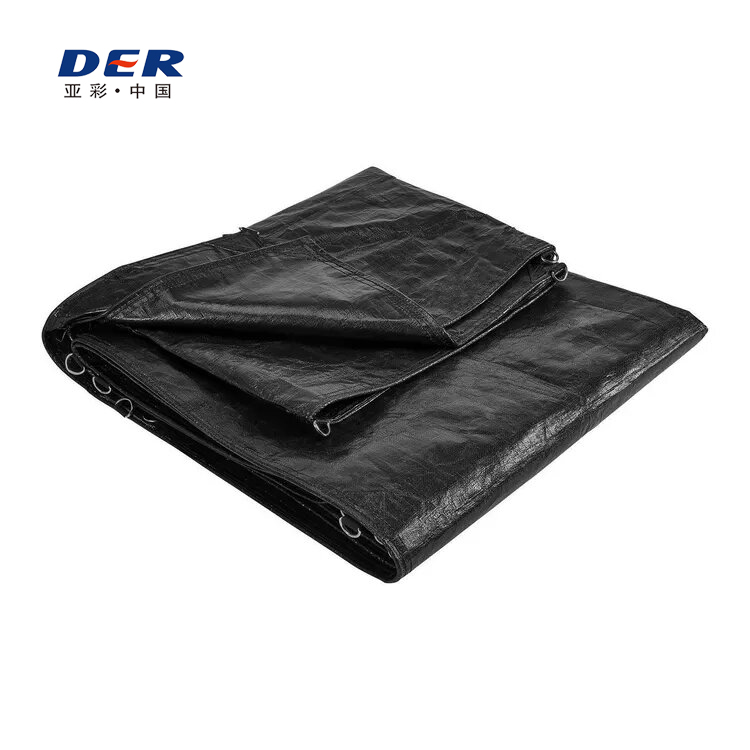
Defined attachment positions help repeat-use covers hold a planned drainage shape when the hardware and reinforcement match the real anchors.
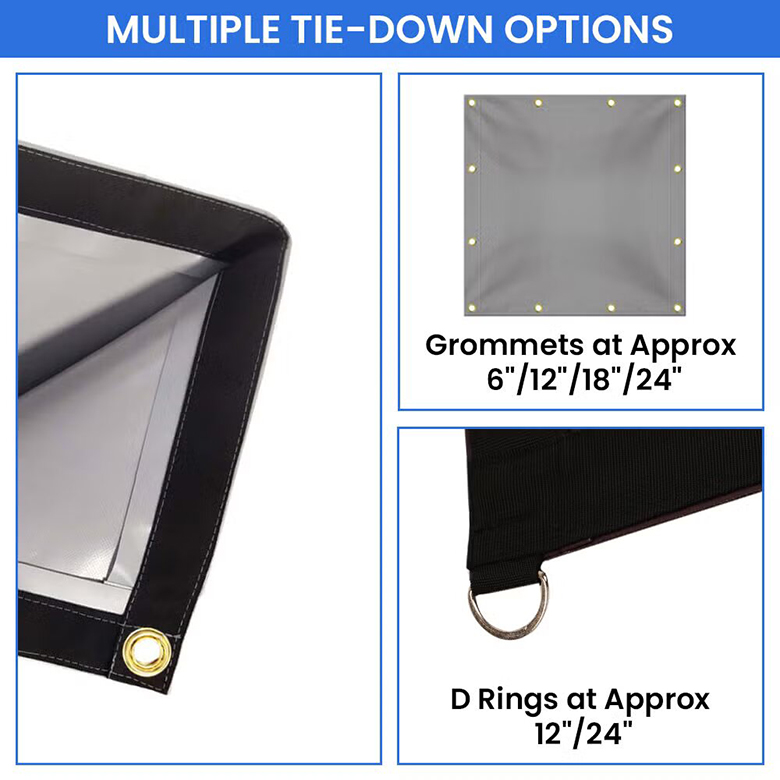
Intermediate attachment points can reduce loose edge spans, but spacing should follow cover geometry and reinforcement rather than one universal interval.
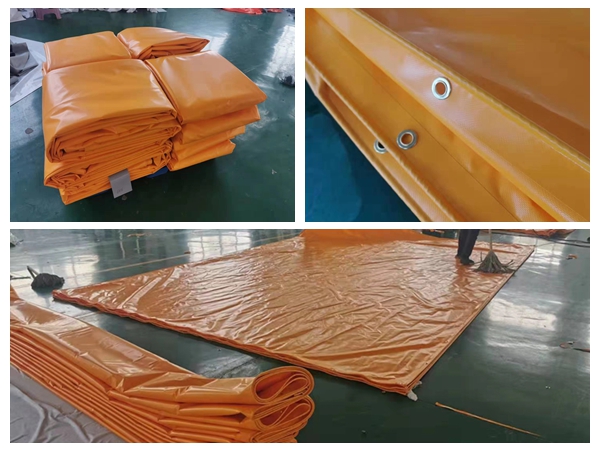
Finished size, hem structure, grommet layout and seam placement should be fixed before repeat production.
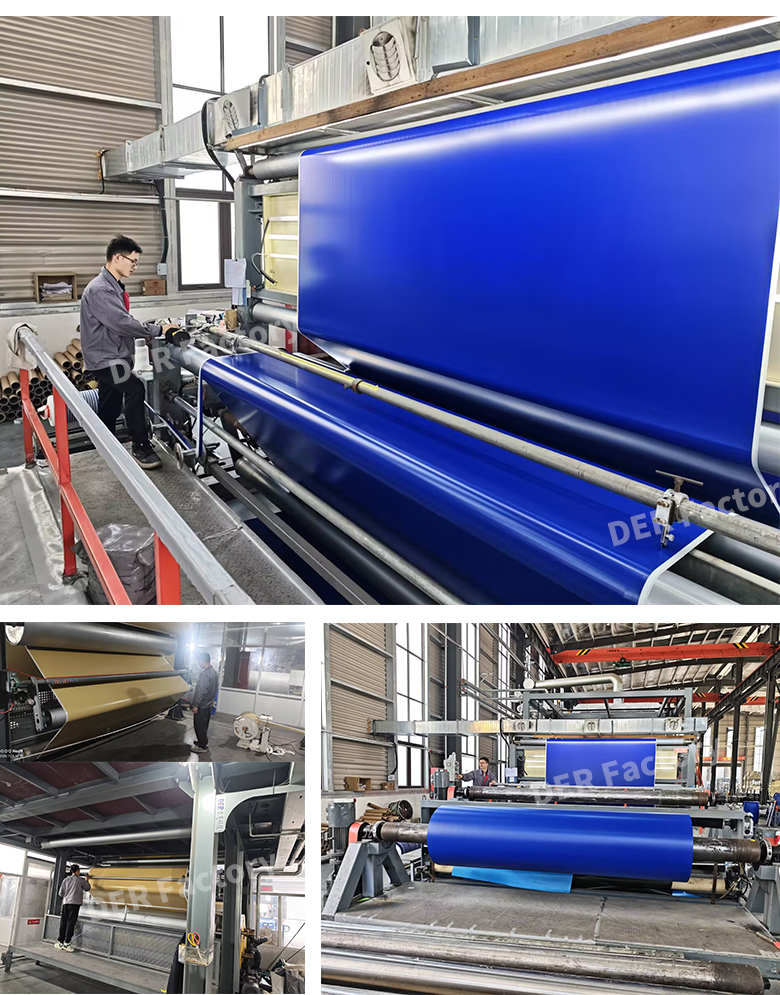
For B2B programs, material structure and finished-cover design should be specified together when welding, reinforcement and repeat tension are involved.
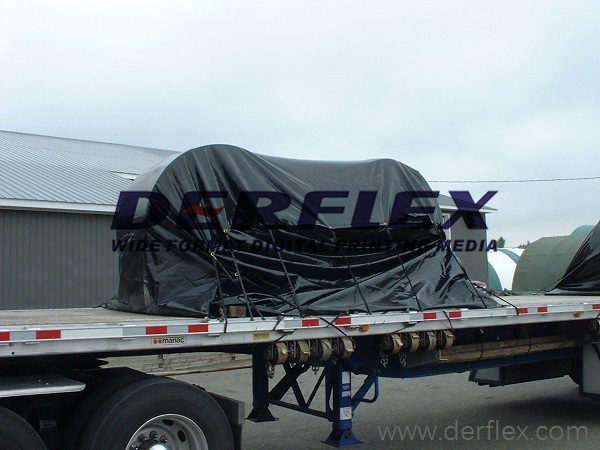
The object or frame can become part of the drainage geometry when the top profile stays above the runoff edges and sharp contact points are protected.
More attachment points do not replace drainage, but they can help the cover maintain its designed slope and reduce localized edge distortion.
For repeat equipment, trailer, storage or industrial programs, the drainage geometry and fixing layout should be part of the production drawing. DERFLEX can discuss finished dimensions, material direction, seam routing, grommet or D-ring positions, webbing, reinforced corners, straps, pockets, color, printing and packaging according to the application and order requirements.
These six verified DERFLEX pages cover the closest decisions that affect pooling: wind securement, sizing, repair, waterproofing, reinforced edges and storage exposure.
Short answer-first explanations for the rainwater and tarp setup questions users most often ask.
Create a ridge, crown or high point through the center, then keep the runoff edges lower and evenly tensioned. If the tarp is wide, add intermediate support so the material cannot sag into a new bowl between endpoints.
A tarp should be evenly controlled rather than floppy or over-tightened. Too much slack creates low pockets and wind flap; excessive tension can distort grommets, seams, D-rings and corners. Use enough tension to maintain the intended drainage shape.
Yes, a center support can create a useful crown, but the contact surface should be broad, stable and padded. Do not push a bare sharp pole tip into a tensioned tarp, and make sure the support cannot slip or create a new low point.
There is no universal angle for every flexible tarp, span and support arrangement. Use enough positive pitch that water has a continuous downhill route and a controlled water test leaves no stationary depression. Large permanent or high-risk structures require project-specific design.
The cause may be a wide unsupported span, an oversized cover, moving anchors or poor support geometry. If the same pocket returns after rain, change the support or drainage shape instead of repeatedly adding more local tension.
Yes. Standing water adds weight, deepens sagging and increases load on the tarp, seams, hems, grommets, D-rings, supports and anchors. The frame or equipment underneath can also be affected if the accumulated load becomes large.
Not by itself. A heavier material may improve durability, but it can still sag and pond if installed flat or across a wide unsupported span. Drainage geometry, support spacing, finished size and balanced tension remain essential.
A center crown, longitudinal ridge or series of support bows can reduce unsupported trailer spans. Size the finished tarp around the raised profile and align tie-down points with the trailer's actual anchors. The tarp cover is separate from any required cargo-restraint system.
For repeat OEM, trailer, storage and industrial cover programs, send DERFLEX the finished geometry, support locations, fixing-point map, material target, quantity and dest, , , ination.