High Perimeter Control
Useful where the tarp has many real anchor points, irregular geometry, large exposed edges or frequent tension adjustment. The hem and corner structure must support the added hardware density.



For many commercial tarps, 18–24 inches (about 450–600 mm) center-to-center is a practical general starting range. Use closer spacing such as 12–18 inches when the perimeter needs more control, and wider spacing such as 24–36 inches only for lower-tension or sheltered conditions. There is no universal spacing that is correct for every tarp.
The final layout should be selected from the tarp size, wind exposure, anchor positions, reinforced hem, corner loading, tie-down method and handling frequency—not from a spacing number alone.
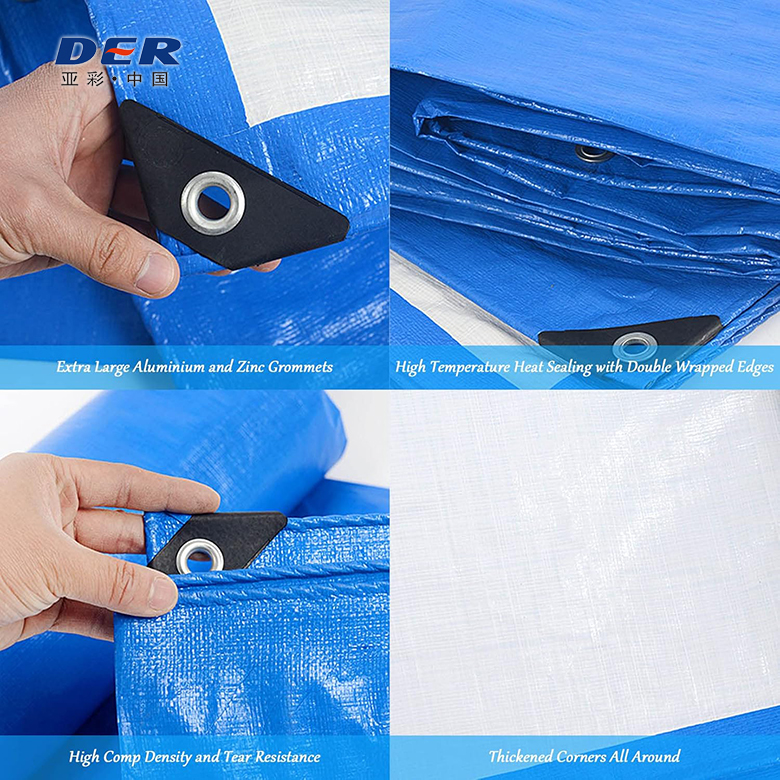
DERFLEX product reference: reinforced corners, grommets and edge construction. Exact hardware and spacing are confirmed for the real application.
A useful starting point is 18–24 inches on center for many general-purpose tarps, but the correct spacing depends on the installation. Stock tarp products in the market commonly use 18-inch or 24-inch spacing, while custom tarp builders may offer 6-, 12-, 18- and 24-inch options. Industrial covers should not copy a stock spacing without checking how the tarp is actually tied down.
Use these ranges as specification starting points. Large tensioned surfaces, engineered enclosures and high-wind installations may require project-specific engineering.
Useful where the tarp has many real anchor points, irregular geometry, large exposed edges or frequent tension adjustment. The hem and corner structure must support the added hardware density.
Often practical for truck, trailer, construction and equipment covers that are opened, removed, folded or retensioned regularly.
A common market spacing for many vinyl and PVC tarp products. Still confirm wind, anchor positions and edge flutter before standardizing it.
Consider where exposure is limited, the tarp is temporary, or pockets, rails, lacing, battens or other continuous systems carry part of the perimeter load.

| Use condition | Starting spacing direction | Edge construction direction | Tie-down method | What to verify |
|---|---|---|---|---|
| Sheltered storage / short-term cover | 24–36 in, subject to anchor layout | Folded or welded hem; strengthen tied corners | Rope, light bungee, clips | Avoid long unsupported edge sections that can flap. |
| General equipment cover | 18–24 in | Double-fold hem or perimeter webbing; local wear patches | Rope, hooks, loops, selected D-rings | Match hardware to machine frame and access points. |
| Truck / trailer / frequent handling | 12–18 in or drawing-based | Webbing-reinforced hem, reinforced corners, wear zones | Rubber straps, hooks, D-rings, buckles | Dynamic wind, vibration, folding and cargo abrasion. |
| Construction / temporary enclosure | 12–24 in depending on bay and exposure | Wide reinforcement strip, rope hem, webbing or pockets | Lacing, frame hooks, straps, rails | Large tensioned surfaces may require engineering review. |
| Fixed custom anchor pattern | Exact center-to-center drawing | Local patches designed around each pull direction | D-rings, straps, buckles, custom tabs | Let the anchor map determine the hardware map. |
This calculator is for layout planning when the first and last grommet centers are included. It does not replace a production drawing.
If the corner grommets are inset from the physical tarp edge, calculate with the center-to-center run between the end grommets, not the overall cut size.

“Grommets every 24 inches” is incomplete if the drawing does not define where the first point starts and how the corners are handled.
Measure from the center of one grommet opening to the center of the next. This avoids ambiguity caused by different grommet diameters.
Define the distance from the finished tarp edge to the grommet center as a separate dimension. There is no universal offset appropriate for every hem and grommet size.
Use a defined corner, finished edge, seam or other datum so replacement covers and repeat orders keep the same hardware coordinates.
State it on the drawing. Evenly spaced grommets on each edge do not automatically guarantee that opposing hardware positions will line up after folding a custom tarp in half.
Do not assume the regular side spacing is enough. Corners can see diagonal load from two edges, so a larger patch, crossed webbing or dedicated corner hardware may be more useful than simply putting another eyelet close to the corner.

Grommets transfer force into the edge. The perimeter construction determines how widely that force is spread into the tarp.
A perimeter fold adds material thickness around the eyelet and protects the cut edge. Suitable PVC structures can use welded fabrication; other constructions may use sewing or mixed methods.
Webbing can create a more stable base for rows of grommets, D-rings or straps and spread pull along a wider section of the tarp edge.
An enclosed rope adds body to the perimeter and can support lacing or broader edge restraint. Rope material and closure method should match the environment.
Additional compatible tarp material can reinforce the full perimeter or selected high-load zones. The strip should extend beyond the immediate grommet washer area.
Corners are often high-load points. Larger patches, crossed webbing or dedicated corner attachment hardware can improve load distribution.
Where a tarp rubs a rail, cargo edge, machine frame or roller, local wear protection may solve the actual failure mechanism more efficiently than adding overall fabric weight.
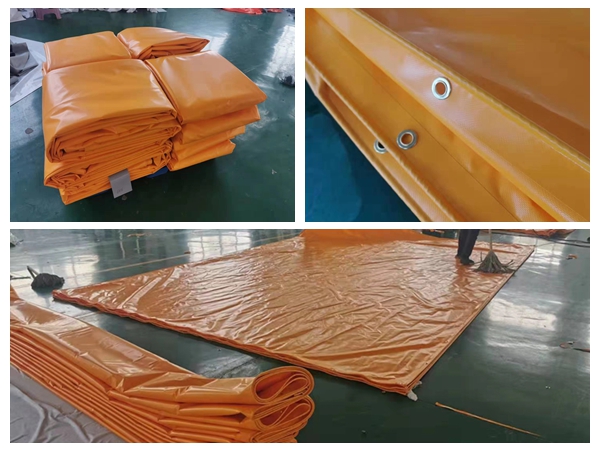
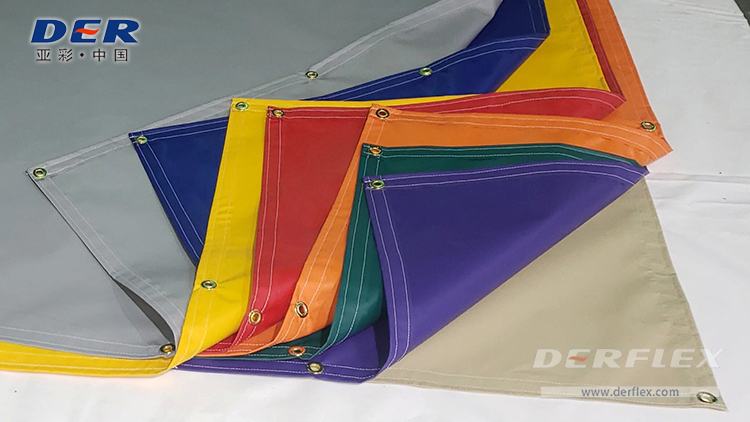
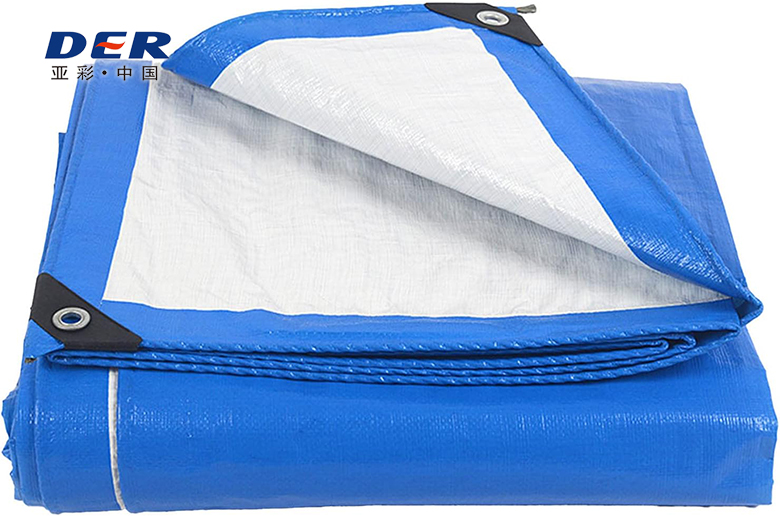
Different hardware solves different connection problems. A mixed fastening system is often more practical than forcing one fixing method around the entire tarp.
Compact holes for rope, bungee or hooks. Confirm inside diameter, material/finish, washer construction, center spacing and reinforcement.
Useful for hooks, straps and defined pull points. Confirm ring size, row position, orientation, webbing tab and pull direction.
Soft loops or integrated straps can reduce metal contact and simplify repeated installation where separate rope is inconvenient.
Continuous pockets can accept poles, battens, cables or weighted bars and spread force across a longer edge than individual eyelets.
Field damage often shows whether the real problem was hardware spacing, fit, corner loading, abrasion, pull direction or reinforcement.

Review whether too few anchors were actually used, the backing area was too narrow, the tie-down pulled diagonally, or one point carried disproportionate load.
Spacing may be too wide, but the tarp can also be oversized, undertensioned or tied to an anchor line positioned too far from the edge.
The corner is probably receiving combined load from two edges. Review the corner patch and tie-down direction separately from the regular side pattern.
Check side loading, washer seating, metal selection and the humidity, salt or chemical environment before choosing the next hardware specification.
For custom and OEM tarps, the best specification controls the hardware map from real datum points and connects it to the edge build-up.
Show rails, hooks, frame points or ground anchors on photos or drawings.
Mark downward, outward, lengthwise and diagonal loads.
State center-to-center positions, edge offset, row height and corner details.
Confirm hem, webbing, patch dimensions, grommet type and material.
Verify fit, alignment, tensioning, folding and real installation before repeat production.
DERFLEX can coordinate coated fabric selection and finished-tarp fabrication so the material, hem, reinforcement and hardware layout are treated as one specification.
Center-to-center positions, selected-side layouts, corner hardware, D-ring rows, strap tabs and mixed fixing systems can be discussed from buyer drawings.
Folded or welded hems, webbing, rope edges, reinforcement strips, corner patches and local wear protection can be matched to the load path.
Depending on the program, buyers can discuss finished custom tarps, semi-finished panels or tarp roll material for local converting and hardware installation.
These verified DERFLEX pages separate product selection, reinforced-edge design, alternative hardware and material specification from this spacing-focused technical guide.
Direct answers to common search and procurement questions.
There is no single universal standard. Many stock and custom tarps use spacing around 18–24 inches, while 12-inch and 36-inch directions also appear depending on the product. For industrial covers, specify spacing from wind exposure, tarp size, anchor positions, reinforced edge construction and tie-down method.
Neither is automatically better. Eighteen-inch spacing provides more attachment points and can improve perimeter control when those points are actually used. Twenty-four-inch spacing reduces hardware count and is common for many general-purpose tarp products. The better option is the one that matches real anchors and the edge structure.
No. More grommets can distribute tension across more points only when the hem, backing layer and anchors are strong and the tension is shared. Too many holes in weak material or uneven tie-down tension can still cause early failure.
Specify grommet spacing center-to-center. Separately state the distance from the finished tarp edge to the grommet center, the location of the first/last grommet, and whether opposite sides must align.
If the distance between the first and last grommet centers is 120 inches, 24-inch spacing creates five intervals and therefore six grommets on that edge. If the end grommets are inset, use the center-to-center run between those end positions instead of the full tarp dimension.
Truck and trailer covers often need closer or drawing-based hardware layouts because they face wind, vibration, folding and repeated tension. A 12–18 inch direction can be a useful starting discussion, but the frame/rub-rail anchor positions should control the final drawing.
Not necessarily. Corners often benefit more from larger patches, crossed webbing or dedicated D-rings because diagonal corner load can be different from regular side loading. Add hardware only after the corner reinforcement and tie-down direction are reviewed.
Yes. Buyers can provide center-to-center spacing, exact coordinates, selected-side layouts, grommet size/material, corner details, D-ring rows, straps and reinforced-edge requirements. A marked drawing or installation photo is the clearest starting point.
Send DERFLEX your finished dimensions, application photos or frame drawing, anchor positions, preferred tarp material, grommet size/spacing, reinforcement method, quantity and destination. The team can review a practical custom tarp specification for sampling or B2B production.