


Technical field guide / Custom fabrication
How to Measure Industrial Tarp Curtains for Custom Panels
Start with the installed opening. Finish with a drawing that defines every edge.
Learn how to measure industrial curtains for a warehouse divider, workshop partition or replacement panel. Separate site dimensions from finished fabric dimensions, then record the suspension drop, floor clearance, overlaps and parking space. Send DERFLEX your layout to discuss PVC-coated curtain materials and custom panels.
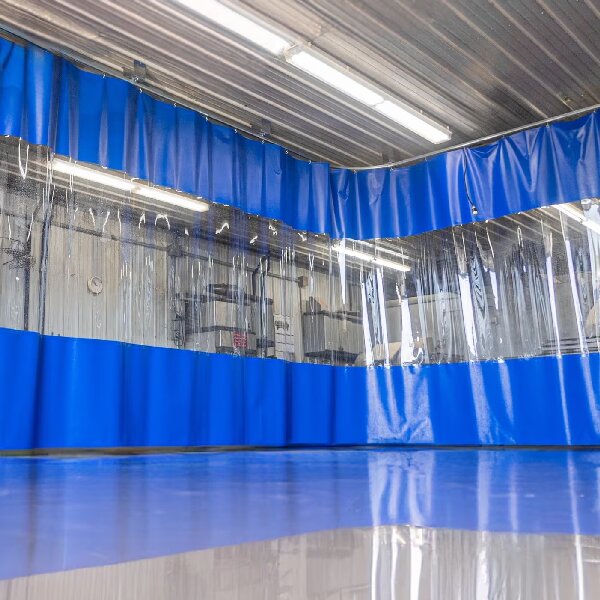
This guide covers flexible full-panel curtains, rather than individual PVC strips. DERFLEX supplies curtain materials and custom panel options; identify track, carriers, structural supports and installation as separate quotation responsibilities.
The direct answer
How do you measure industrial curtains?
Measure the coverage width and the distance from an agreed mounting reference to the floor at several points. Record the smallest available drop, actual hanging hardware, floor clearance and each overlap separately. Approve the finished panel dimensions before fabrication, with the supplier responsible for translating those dimensions into cut sizes.
- Sketch every run, opening and parking zone.
- Name the exact vertical measurement datum.
- Survey the floor along the full travel path.
- Confirm the assembled hardware drop.
- Schedule overlaps, returns and panel joints.
- Approve finished sizes and attachment positions.
01 / Establish the reference
One datum. Three different dimensions.
An opening height, a finished curtain height and a raw cut size describe different things. Label each one on the drawing. The measuring datum could be the track underside, track top or another agreed surface; the hardware deduction must start from that same surface.
On a small screen, scroll the diagram horizontally to read all labels.
- Site dimension / D
- Measure vertically from the named datum to the finished floor. For a level track and a uniform free-hanging panel, use the smallest drop found over the panel’s operating path.
- Finished panel / H
- The top-to-bottom fabric dimension after fabrication, including the agreed hem or pocket. A separate floor sweep needs its own dimension.
- Raw cut size
- The fabrication dimension before hems, welds and other construction allowances. Have the fabricator derive this from the approved finished size.
D = controlling datum-to-floor distance · K = datum-to-finished-top drop · G = required gap from the finished body bottom to the floor high point.
If you measure to an eyelet center rather than the finished fabric top, include the eyelet’s edge offset in the drawing. Do not apply both a supplier’s system deduction and your own deduction to the same order.
02 / Survey the working space
Six checks before you set the finished size.
Use a steel tape or suitable distance meter, a level reference, a sketch and photographs. Record all dimensions in one stated unit. A photograph explains the layout; it cannot replace a measured drawing.
Draw the closed line and the open route.
Mark each straight run A, B and C. Identify wall terminations, center openings, personnel access and the direction of travel. Show the clear opening required when the curtain is parked, including carts, vehicles and handled loads. Begin with the appropriate industrial curtain construction.
Fix the mounting datum.
State whether measurements start at the track top, underside, beam face or another reference. Photograph the proposed carrier beside a ruler and obtain the assembled drop to the finished fabric top. For existing rails, record the track and carrier identification; use the track and fabric interface guide to coordinate the connection.
Find the controlling floor point.
Measure left, center and right, then add readings at steps, humps and changes in level. Follow the whole route a moving panel will cross, including its parking area. With a level track, a higher floor produces a smaller datum-to-floor distance. With an uneven track, record the local available drop at each station.
Separate the body from the floor detail.
State the desired free gap beneath the curtain body. If a sweep is needed, dimension its projection below the body and the intended floor contact separately. A full-width panel on a sloping floor will have changing clearance; review segmented panels or a suitable lower closure rather than assuming one rectangular size will seal every point.
Locate every interface.
Record each side return, joint overlap, window, door and service opening from a named origin. Give eyelet centers, pitch and end offsets. Mark zippers or hook-and-loop faces as viewed from the designated operating side. Measure window position from the finished panel edge and state the required installed sightline.
Approve the dimensional handover.
Submit site readings and requested finished sizes as separate entries. Agree tolerances, inspection conditions and the drawing revision before cutting. For replacements, compare the opening and hardware with the relaxed old panel; stretched material or a worn edge can distort the reference.
03 / Check the arithmetic
Estimate the finished body height.
Use only a confirmed datum and hardware drop. This calculator covers a uniform free-hanging curtain body; it does not select clearance, size a sweep or produce a fabrication cutting pattern.
Example only: 4,000 − 85 − 25 = 3,890 mm. The 85 mm drop and 25 mm gap are illustrative inputs, not DERFLEX standard allowances. Use millimeters throughout. 1 in = 25.4 mm exactly.
Uneven-floor example
For a level mounting datum, readings of 4,020, 4,000 and 4,035 mm give a controlling drop of 4,000 mm. Using the illustrative values above leaves gaps of 45, 25 and 60 mm at those stations. The largest reading would allow the curtain to drag at the high point.
Sweep detail example
If a separate sweep projects S below the body, compare S with the local body-to-floor gap at each surveyed point. A greater projection creates nominal floor interference; a smaller projection leaves a gap. Specify the attachment and floor variation, then confirm practical contact and opening force with a fit trial.
04 / Width, corners & access
Coverage width is only the starting point.
Finished flat width depends on the closure arrangement and agreed drape. Hardware travel and retracted stack space are separate dimensions. For a larger enclosure, develop the run schedule alongside the warehouse divider layout.
| Arrangement | Measure on site | Define on the finished-panel drawing |
|---|---|---|
| One straight panel | Required covered span, end fixing locations and free opening. | Side returns and operating ease; state whether these are already included in the ordered flat width. |
| Two center-opening panels | Closed span, split position, travel direction and parking at each end. | Width of each panel and one specified center overlap; check that the selected carriers can create the closure. |
| Modular curtain wall | Each bay and every junction location. | Net coverage of each module after joints are engaged; distinguish the connection build-up from the covered span. |
| L-shaped or U-shaped enclosure | Each straight run, corner geometry and the defined track centerline path. | Whether the corner is fixed or traversable; rail radius and tangent points, panel division and parking location. |
| Replacement panel | Opening, hardware, attachment positions and existing relaxed panel. | Finished edge dimensions, eyelet centerline, closure orientation and changes to the original construction. |
Count each overlap once.
For flat panels without an extra drape allowance, total finished width = covered span + side returns + the sum of overlaps at panel joints.
Illustrative center-split example: a 6,000 mm covered span, two 150 mm returns and one 200 mm overlap require 6,500 mm of combined flat width. A symmetrical layout gives two 3,250 mm panels. Confirm closure travel and how the overlap is formed before adopting the example.
Reserve the parking space.
Gathered fabric, carriers and end stops occupy track length. Obtain the actual stack envelope for the selected panel construction and hardware, then show the remaining clear opening. An insulated or pocketed panel can park differently from a single-layer sheet.
Do not use a household curtain fullness ratio or a universal percentage as the default for industrial tarp curtains. Agree any additional drape allowance separately and state where it is applied.
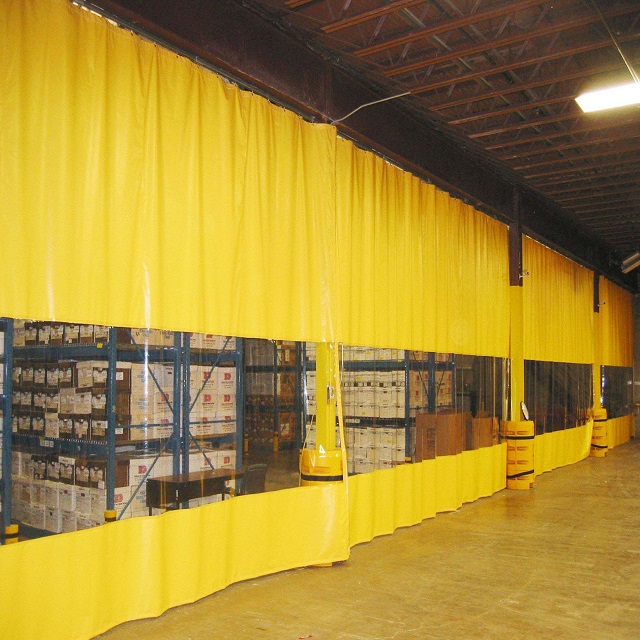

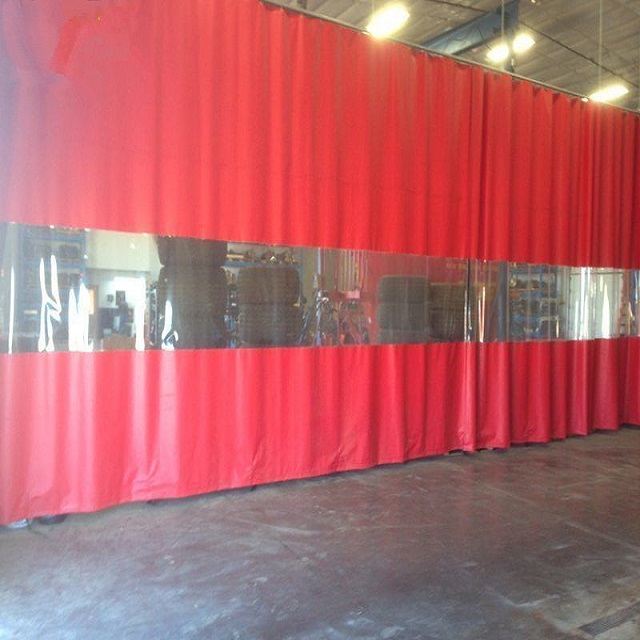
05 / Before you order
Make the dimensions buildable and repeatable.
DERFLEX’s material and panel options let buyers discuss the curtain body, transparent sections, reinforced edges and joining details together. Review the selected PVC-coated curtain fabric with the drawing; material weight alone does not define fit or system performance.
- Declare what is included.List material rolls, fabricated panels, replacement sections and any accessories separately. The quotation should name responsibility for track, carriers, anchors, supports and installation.
- Agree the measuring condition.Specify finished size laid flat and relaxed, the chosen inspection method and project-specific tolerance. Use the production tolerance guide to document acceptance rather than assuming zero dimensional variation.
- Coordinate the complete partition.Record airflow, cleaning, pressure differences and any required perimeter closure. Use the industrial curtain wall planning guide to relate the panel to access and boundary details.
- Check a representative interface.For an existing rail or repeated order, review a header sample with the actual hook or carrier. Where required, trial the closure, window joint and lower edge before approving the production batch.
Dimensioning does not establish structural load capacity, fire separation or containment performance. Keep support design and any required material or assembly test evidence in the project specification.
06 / Field notes to quotation
A clear brief makes the next step easier.
Copy or print the worksheet, add a dimensioned sketch and label the photographs to match. If hardware has not been selected, provide the raw site readings and identify the unresolved drop rather than submitting a guessed finished size.
Send the view that resolves the question.
Include one overall layout photo, close-ups of the mounting reference and hanging connection, and the floor or obstruction that controls the fit. Show a scale beside existing attachment details.
Approve one dimension schedule.
Have the order confirmation distinguish site readings, calculated finished dimensions and supplier fabrication allowances. Use panel IDs and a drawing revision so procurement and fabrication work from the same document.
Understand what changes the quote.
Material construction, panel area, seam layout, windows, closure details, reinforcement, attachment count, order quantity and packing affect the quotation. Confirm sample terms, MOQ and lead time against the actual order.
Related questions
Industrial curtain measuring FAQ
Should I order the opening size or the finished curtain size?
Provide both, labeled clearly. Site dimensions describe the opening and mounting arrangement; finished dimensions describe the fabricated panel. Ask DERFLEX to confirm which dimensions govern the order and which allowances are included. Do not silently add overlaps or subtract hardware drop.
How much shorter than the mounting height should a curtain be?
There is no universal deduction. Subtract the assembled drop from the agreed datum to the finished top edge, then the required body-to-floor gap. The result depends on the actual carrier, hook, header and floor detail. Dimension any separate sweep independently.
How do I measure when the floor slopes?
Survey multiple stations along the operating and parking path. For a level track and a uniform free-hanging panel, the smallest datum-to-floor distance controls the maximum body height. List the other readings too, because a panel that clears the high point will leave larger gaps elsewhere.
How much overlap do two center-opening panels need?
Choose the overlap for the required closure and compatible carrier arrangement; do not assume a standard amount. Show its dimension and location, include it once in the combined flat-width schedule, and confirm the available travel. A zipper or other edge connection may need a different joint detail.
Can I use the old panel to measure a replacement?
Use it as a reference and also measure the site and hardware. Lay the old panel relaxed and record finished edges, attachment centers and closure orientation. Check for stretching, damage or changes to the floor and rail before copying its dimensions.
What should I send if the track has not been installed?
Send the proposed track position, measured site heights, layout, required clear opening and the hardware information available. Keep the finished panel drop provisional until the mounting reference and assembled connection are confirmed. Identify who will supply the hardware and verify the supports.
Turn site measurements into an agreed panel drawing.
Send your layout, mounting reference, floor readings and quantity to DERFLEX. Discuss the material and fabrication details around the way the curtain will actually operate.