Tears & Rupture
Ask where the damage started, whether yarns were cut first, and whether the rip followed a fold, edge, grommet, seam or sharp contact point.



A failed tarp is evidence. The tear shape, leak path, peeled coating, distorted grommet or separated reinforcement can show whether the real problem came from material selection, fabrication, installation, wind movement, abrasion, water management or hardware load transfer.
This guide is built for importers, distributors, fleet operators, tarp fabricators, project buyers and OEM teams that need to diagnose failure before ordering the same problem again.
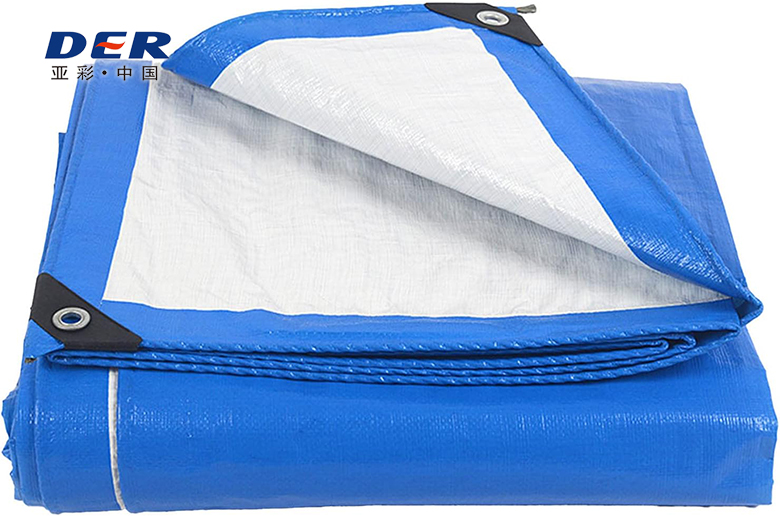
Most tarpaulin failures begin where stress, movement or water is concentrated—not because the entire sheet suddenly becomes weak. A cut can propagate because tear resistance is insufficient for the contact risk; a waterproof panel can leak through a seam or hardware hole; PVC can peel when coating adhesion or lamination integrity breaks down; and grommets or D-rings can fail when local reinforcement and pull direction do not match the actual load.
The best diagnosis starts with the first visible failure pattern, preserves the damaged sample, separates material failure from conversion or installation failure, and then turns the evidence into a measurable replacement specification.
Do not treat every complaint as “the tarp is too thin.” Each failure family points to a different part of the material-and-cover system.
Ask where the damage started, whether yarns were cut first, and whether the rip followed a fold, edge, grommet, seam or sharp contact point.
Separate panel penetration from seam leakage, stitch perforation, hardware penetration, ponding and water tracking along folds or structures.
Identify the actual failure plane: PVC-to-textile interface, laminate bond, surface finish, local weld edge or abrasion that only looks like peeling.
Inspect the complete load path: anchor → connector → hardware → webbing/patch → hem → main fabric. A stronger eyelet alone may move the failure elsewhere.
Use the visible clue to decide what to inspect next. The “likely mechanism” is a diagnostic direction, not a final conclusion until the failed area, service history and specification are reviewed together.
| What You See | Likely Mechanism | Inspect Next | Corrective Direction |
|---|---|---|---|
| Tear Long rip growing from a small cut | Local puncture followed by tear propagation, cyclic wind loading or weak damage tolerance. | Original contact point, yarn break pattern, fabric direction, flutter and tear-test basis. | Remove sharp contact, add wear protection, review tear performance and local reinforcement. |
| Tear Diagonal split from a corner or eyelet | Concentrated or misaligned pull, corner geometry or insufficient reinforced area. | Anchor location, pull angle, corner patch, hem/webbing and neighboring tie points. | Realign load path; widen reinforcement; consider directional webbing or D-ring layout. |
| Tear Surface worn through where tarp touches cargo | Abrasion, vibration, grit or repeated sliding. | Contact surface, movement, folding route and sacrificial wear zones. | Pad the contact, add wear strips/patches and review abrasion-focused material direction. |
| Leak Wet line follows a welded seam | Incomplete weld, local channel, contamination, heat/process variation or seam damage in service. | Seam continuity, overlap, edge lift, weld appearance and production-representative seam test. | Revalidate the material + seam process window and the finished seam, not raw fabric alone. |
| Leak Leak appears at stitched seam or hardware hole | Water passes through a penetration or poorly sealed detail even though the sheet itself is waterproof. | Stitch line, thread path, washers, grommet hole, sealant or cover geometry. | Use a water-control detail appropriate to the application; do not call material waterproofness a finished-cover guarantee. |
| Leak Water collects in a low pocket | Ponding changes geometry and increases static load; the leak may occur later at a seam, hole or weakened low point. | Slope, support, span, stretch, drainage path and water-entry route. | Fix drainage geometry and support before increasing local tension. |
| Peel PVC skin lifts from the textile or laminate | Coating/laminate adhesion loss, ageing, folding, heat history, chemical exposure or process inconsistency. | Failure plane, exposed surface, crease location, lot history and retained sample. | Specify coating adhesion / peel method and acceptance basis; review processing and service conditioning. |
| Peel Separation starts beside a weld | Welding energy/pressure interacts with the coating or bond; local heat damage may be involved. | Weld edge, parent material, peel direction, process settings and surface contamination. | Run a representative welding trial and record whether failure is interface, coating or parent fabric. |
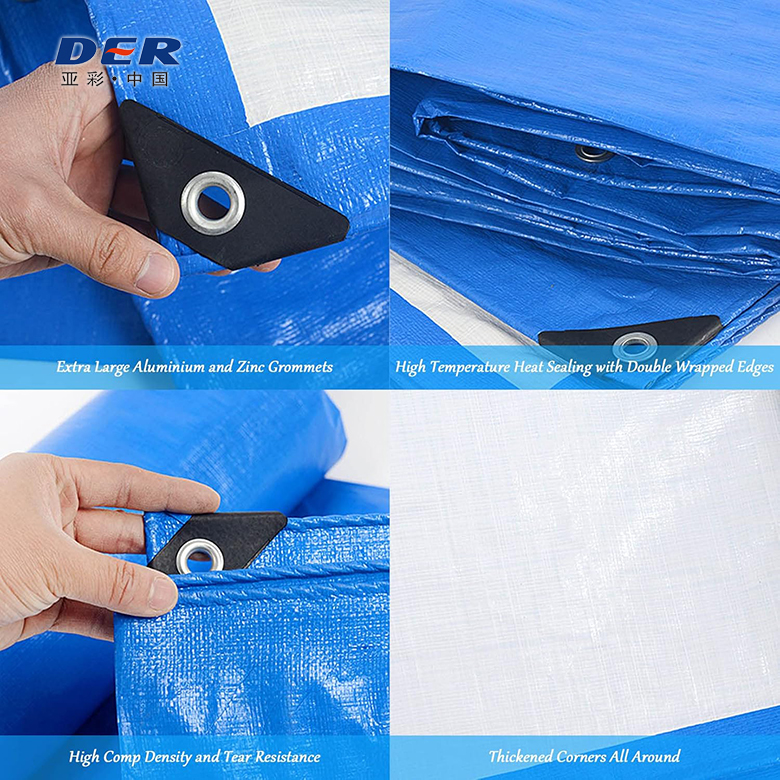
| Hardware Grommet pulls through but metal remains intact | Insufficient bearing area, weak hem/patch, excessive point load or poor edge distance. | Washer profile, hole size, reinforcement, spacing and pull direction. | Rebuild the load zone and spread force through sound material rather than simply fitting a larger grommet. |
| Hardware D-ring/webbing tab peels or stitches tear out | Patch area, seam route, stitch/perforation path or webbing orientation does not match the load. | Ring direction, webbing overlap, stitch/weld geometry, backing patch and repeated shock loading. | Redesign the reinforcement path so the attachment transfers load over a larger, aligned zone. |
A tarp may be strong in a tensile test and still tear in service if a sharp corner, puncture, fold crack or overloaded eyelet creates the first notch. The engineering question is both what started the damage and what allowed it to keep growing.
Review tensile direction, installed span, broad tension, fabric orientation and whether a cut or weakened fold existed before the panel ruptured.
Look for concentrated tie-down force, narrow reinforcement, diagonal pull, wind snap and a geometry mismatch between the tarp and the real anchors.
A shiny scuff, exposed yarn or thinned coating near steel, timber or trailer hardware often indicates rubbing damage before the final rip.
Leak analysis must distinguish the base sheet from the finished cover. Seams, needle holes, grommet penetrations, worn folds, water pooling and installation geometry can create water paths even when the coated fabric itself remains intact.
Puncture, abrasion, pinhole or crack directly through the material. Inspect from both faces and trace whether the damage existed before water exposure.
Check seam continuity, overlap, contamination, edge lift, local heat damage and whether the production seam was validated on the exact material grade.
Stitch and eyelet holes are intentional penetrations. Water-critical applications need a detail designed around those penetrations instead of relying on sheet waterproofness.
Water can collect far from the final drip point and travel along seams, folds, rails or structural members. Confirm the true entry point before repairing the visible drip location.
Field note: always test a dry, safely supported cover in controlled conditions where possible. Do not diagnose elevated or tensioned covers during unsafe weather.
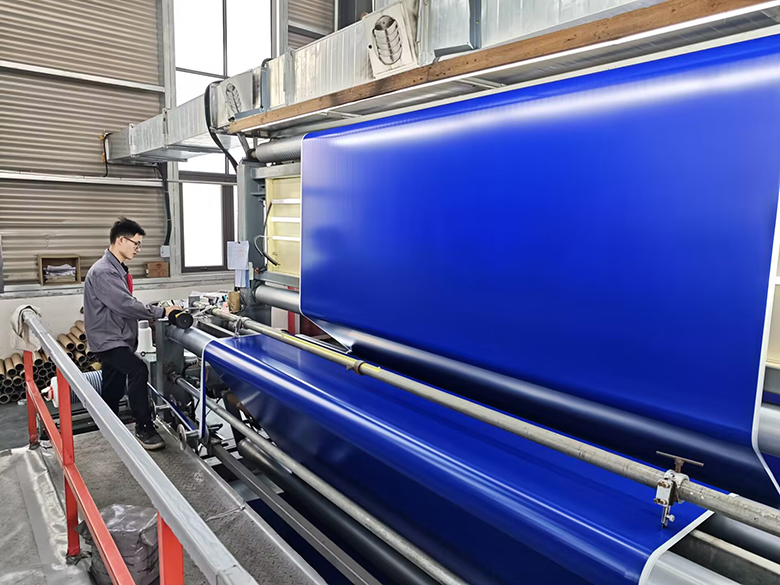
Delamination is layer separation, not a generic word for every damaged surface. Before assigning a cause, identify what separated from what. A clean PVC-to-textile peel, a split inside the PVC layer, a topcoat lifting from the surface and abrasion that exposes the scrim are different failure modes.
Attachment hardware concentrates force into small areas. Diagnose the whole load path rather than blaming only the metal component.
Check washer support, edge distance, hole size, crimp quality, hem depth, webbing/patch support and actual pull angle. A clean crescent cut at the rim suggests a different mechanism from a whole reinforced patch peeling away.
Review ring orientation, webbing width, overlap, backing patch, stitch or weld route and whether the connector repeatedly shocks the attachment instead of applying controlled tension.
For repeatable acceptance testing, DERFLEX’s grommet pull-out strength guide separates raw-fabric tensile values from finished attachment-zone performance.
A useful failure report preserves evidence and separates the symptom from the cause. This sequence is designed for supplier claims, fleet replacements, OEM improvement and repeat-order QC.
Tensile, tear, coating adhesion, seam strength and grommet pull-out answer different questions. A tarp can pass one property and fail another part of the system.
Use ISO 1421:2016 for tensile-strength context, ISO 4674-1:2016 for coated-fabric tear-resistance methods and ISO 2411:2024 for coating adhesion where those methods match the purchase requirement. Test method, direction, units and conditioning must travel with the result.
The decision should reflect the remaining load path, material condition and failure recurrence—not only the size of the visible hole.
| Condition | Repair May Be Reasonable | Replacement / Redesign Is More Practical |
|---|---|---|
| Localized puncture or small tear | Surrounding material remains flexible and well bonded; compatible patch can extend into sound material. | Base textile is brittle, heavily abraded or tears beside the repair. |
| Grommet or D-ring damage | One isolated zone can be rebuilt with wider reinforcement and the original load problem can be corrected. | Multiple attachment points are elongating, corroded or repeatedly tearing along the same edge. |
| Seam leak/opening | Local seam damage is accessible and the rest of the seam system is sound. | Multiple seams show inconsistent welding, widespread cracking or repeated opening after repair. |
| Delamination | Very local damage caused by a known isolated event may be stabilized depending on end use. | Peeling/bubbling is widespread, continues to grow, or appears across folds, edges or several areas. |
| Fit / geometry problem | Minor installation adjustment can remove slack or misalignment without overloading the tarp. | The tarp is systematically oversized, undersized or its hardware map does not match the real anchors. |
For material-specific patching and edge repair steps, continue with DERFLEX’s tarp repair guide.
A useful replacement order should change the variable that caused failure. Buying the same tarp again with only a different color or higher GSM can reproduce the same weak point.
Define construction, base textile, nominal GSM/thickness direction, tensile, tear, coating adhesion and environmental requirements only where relevant to the application.
Specify finished dimensions, panel orientation, seam method, overlap, hem construction, webbing, wear patches, corner build-up and any sealing detail.
Map grommets, D-rings, loops, straps or pockets by position and actual pull direction. Hardware spacing should follow real anchors and service loads.
Failure analysis should be tied to the actual duty cycle. Road-speed airflow, construction-site abrasion, agricultural UV exposure and static equipment coverage do not create the same stress history.
Focus on road-speed flapping, cargo-edge abrasion, repeated roll/fold cycles, D-ring/grommet loads and seam locations. If flutter drives the damage, review tarp flapping control before simply increasing fabric weight.
Look for sharp scaffold/steel contact, temporary tie-downs, moving edges, debris puncture and water pooling. Local wear protection can matter more than making the entire cover heavier.
Map projections, handles, corners, repeated removal paths and chemical/temperature exposure. Custom fit and sacrificial wear zones can reduce recurring damage.
Review long UV exposure, wind uplift, irregular stacks, moisture management and perimeter anchoring. Repeated edge movement often appears before center-panel failure.
Large panels transfer wind and tension into seams, hems and anchors. Drainage geometry, structural support and load distribution may require project-specific engineering beyond material selection.
Where hooks or straps create directional loads, consider whether a grommet is the correct connector. DERFLEX’s custom D-ring tarp guide explains a wider load-transfer approach.
Real production and finished-tarp visuals help procurement teams distinguish material, reinforcement and application details that are easy to miss in a simple product photo.
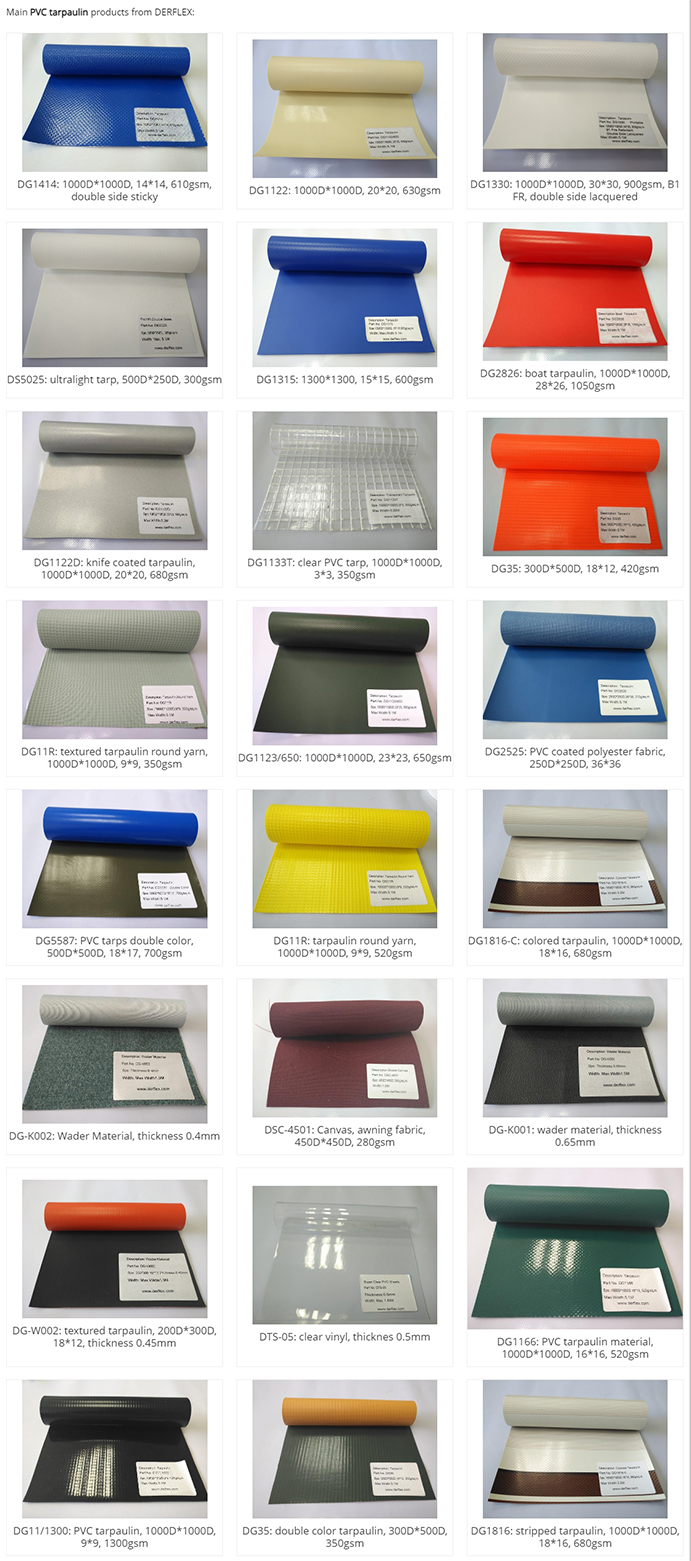
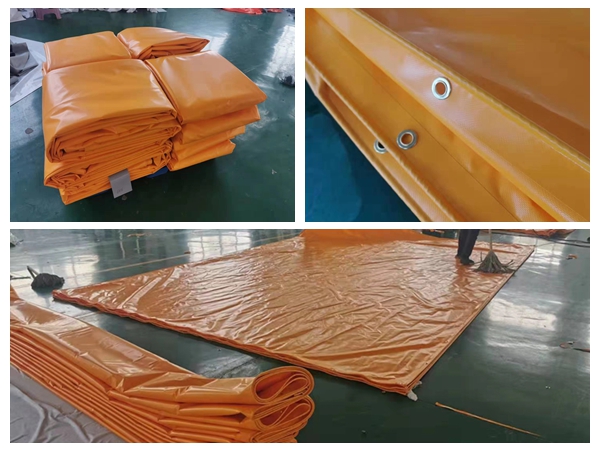
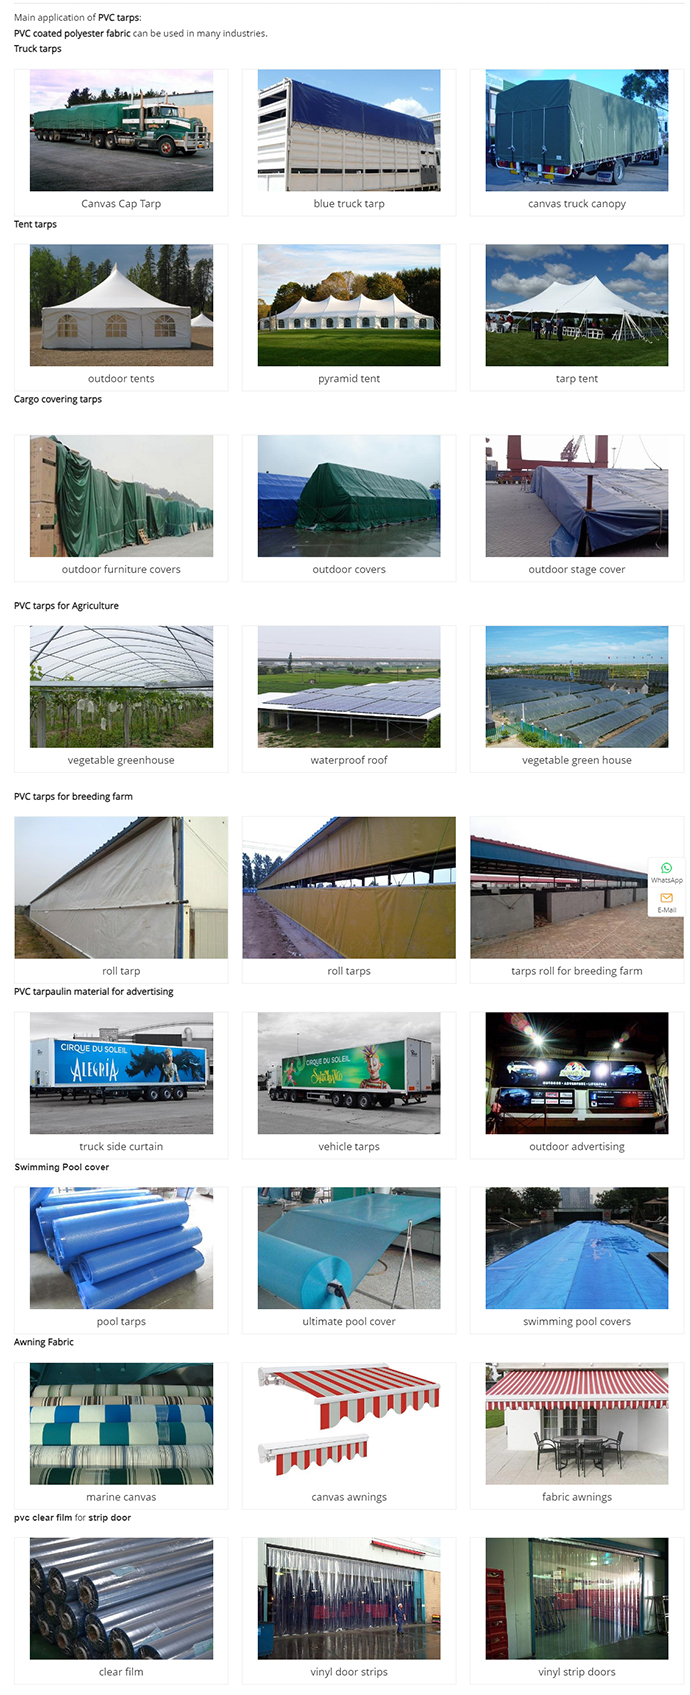
For B2B replacement, OEM or repeat-order improvement, send clear failure evidence together with the original specification. DERFLEX can discuss material direction, finished size, seams, hems, webbing, grommets/D-rings, reinforcement, color, branding and packing according to the real application.
These six verified DERFLEX resources deepen the material, repair, specification and attachment decisions without duplicating this page’s broader failure-analysis intent.
Short, direct answers for common field-failure and procurement questions.
Because fabric weight is only one part of the system. A heavy tarp can still fail at a sharp contact point, unreinforced eyelet, poorly placed seam, over-tensioned corner or loose flapping edge. Diagnose the initiation point before moving to a heavier grade.
Dry the cover, inspect both faces, isolate the suspected area and trace the actual water entry path. A leak that appears below a seam may have entered higher up and tracked along a fo, ld or structure. Panel holes, welded seams, stitch lines and hardware penetrations should be checked separately.
Possible causes include insufficient coating or laminate bond, ageing, repeated folding, heat history, chemicals, abrasion or a welding process that changes the local interface. The first step is to identify the failure plane and compare the failed sample with an approved or retained sample where available.
Common causes are concentrated point load, diagonal pull, insufficient hem or patch reinforcement, poor grommet seating, too much unsupported edge movement, material ageing or a hardware layout that does not match the real anchors.
No. Local damage may be repairable when surrounding material remains sound and the root cause can be corrected. Replacement becomes more practical when failure is widespread, the coating is brittle or peeling in multiple areas, repairs keep failing or the original fit and hardware layout are wrong.
The useful test depends on the failure mode. Tensile testing addresses broad material strength, tear testing addresses propagation from a cut, coating-adhesion testing addresses PVC-to-textile bonding, seam testing addresses fabricated joints, and grommet pull-out testing addresses a finished attachment zone. The method and specimen construction must match the purchase requirement.
Send the application, finished dimensions, material identification if known, photos of the first failure from both sides, seam/hem/hardware details, real anchor positions, pull directions, service environment, quantity and any required test or compliance documentation.
Write the observed failure mode into the new specification. Change the variable that created the problem—material, tear target, coating adhesion, seam design, wear patch, hem/webbing, hardware type, spacing, fit or installation geometry—then approve a representative sample before bulk production.
Technical note: suitability, repair method, test criteria and service life depend on the confirmed material, finished construction, installation, environment and maintenance. No universal pass/fail value applies to every tarp application.